Thursday, 26 September 2013

Pilates with a difference at the Enlightened Body Pilates Studio, Woodhayes, Honiton

Since June this year, some very strange-looking equipment has been arriving at 5/6 The Stable Yard at Woodhayes. These pieces of equipment with enigmatic names such as the ‘Reformer‘ and the ‘Cadillac’ use springs and pulleys to both assist and challenge movement, and are the foundation of the Pilates Method. Katharine Moran, owner and teacher at the Enlightened Body Pilates Studio, has been teaching Pilates since 2006, but for the first time has put down roots in a dedicated studio where she can specialise in using the Pilates equipment to tailor movement sessions to meet the needs of anyone, regardless of their physical fitness or age.


The Pilates equipment is still relatively little known, compared with its better known other half, the Pilates Matwork, which is also taught in small groups at the studio. The archaic-looking contraptions were devised by German-born Joseph Pilates as early as WW1 and he continued to refine his method at his New York studio, where he taught alongside his wife Clara from 1926 until his death in 1967. Contrary to what you might have seen in the UK press recently, with reference to a certain high profile footballer / designer couple, these are not “torture trapezes”! Far from it. The equipment gives a framework and support to your movement that makes the Pilates Method in its full form accessible to everyone. As you learn movements, the springs give you support to help you move efficiently. As you progress, the springs and pulleys offer resistance that can be tailored to suit your goals.


Many of Katharine’s clients (whose ages in recent weeks have ranged from 15 to 87) come for individual or shared sessions to address a niggling pain or improve their movement function in sports and daily life. Katharine has worked with people with osteoporosis, MS, cerebral palsy, Parkinson’s and dyspraxia. Clients have included pregnant women, musicians, elite dancers and gymnasts, and a growing number of men of all ages, something of which Katharine is particularly proud – the myth of Pilates being a “ladies’ thing” is perhaps finally being dispelled!


Photography by Lydia Baker at Willow Studio in Sidmouth willowstudiosidmouth.com

Katharine’s goal in her work is to empower people to feel at home in their own bodies, whether that is through achieving more flexibility and strength, or through learning a new way of moving to address a specific goal.
You can find out more about Enlightened Body Pilates at the website www.enlightenedbody.co.uk or ‘like’ the Facebook page for news of new classes and seasonal offers at www.facebook.com/EnlightenedBodyPilates
telephone: 01404 548 349
email: pilates@enlightenedbody.co.uk


Friday, 9 August 2013

Plaster Board, Plaster and Suspended Ceiling

Plaster Board , Plastering and Suspended Ceiling.

We are now in the closing stages of the project where everything will speed up and before you know it,  we will have a completion certificate. We are currently concentrating on the offices so the NFU Mutual can move in to the offices in  mid to late September.Once the offices have been completed we will then finish off the art gallery space.


Toilet Block comprising of 3 toilets one of which is a disabled Toilet.


Ground Floor Interview Room ready for the suspended ceiling, having been plastered and painted.


Reception hall ready to be plastered.


Ground Floor open plan office ready to be plastered.


Another view of the ground floor open plan office, showing part of the floor ducting in the foreground.


An Application of fresh plaster in one of the first floor executive offices.


Another view.


Bags of plaster waiting to be used.


Painted first floor executive office.


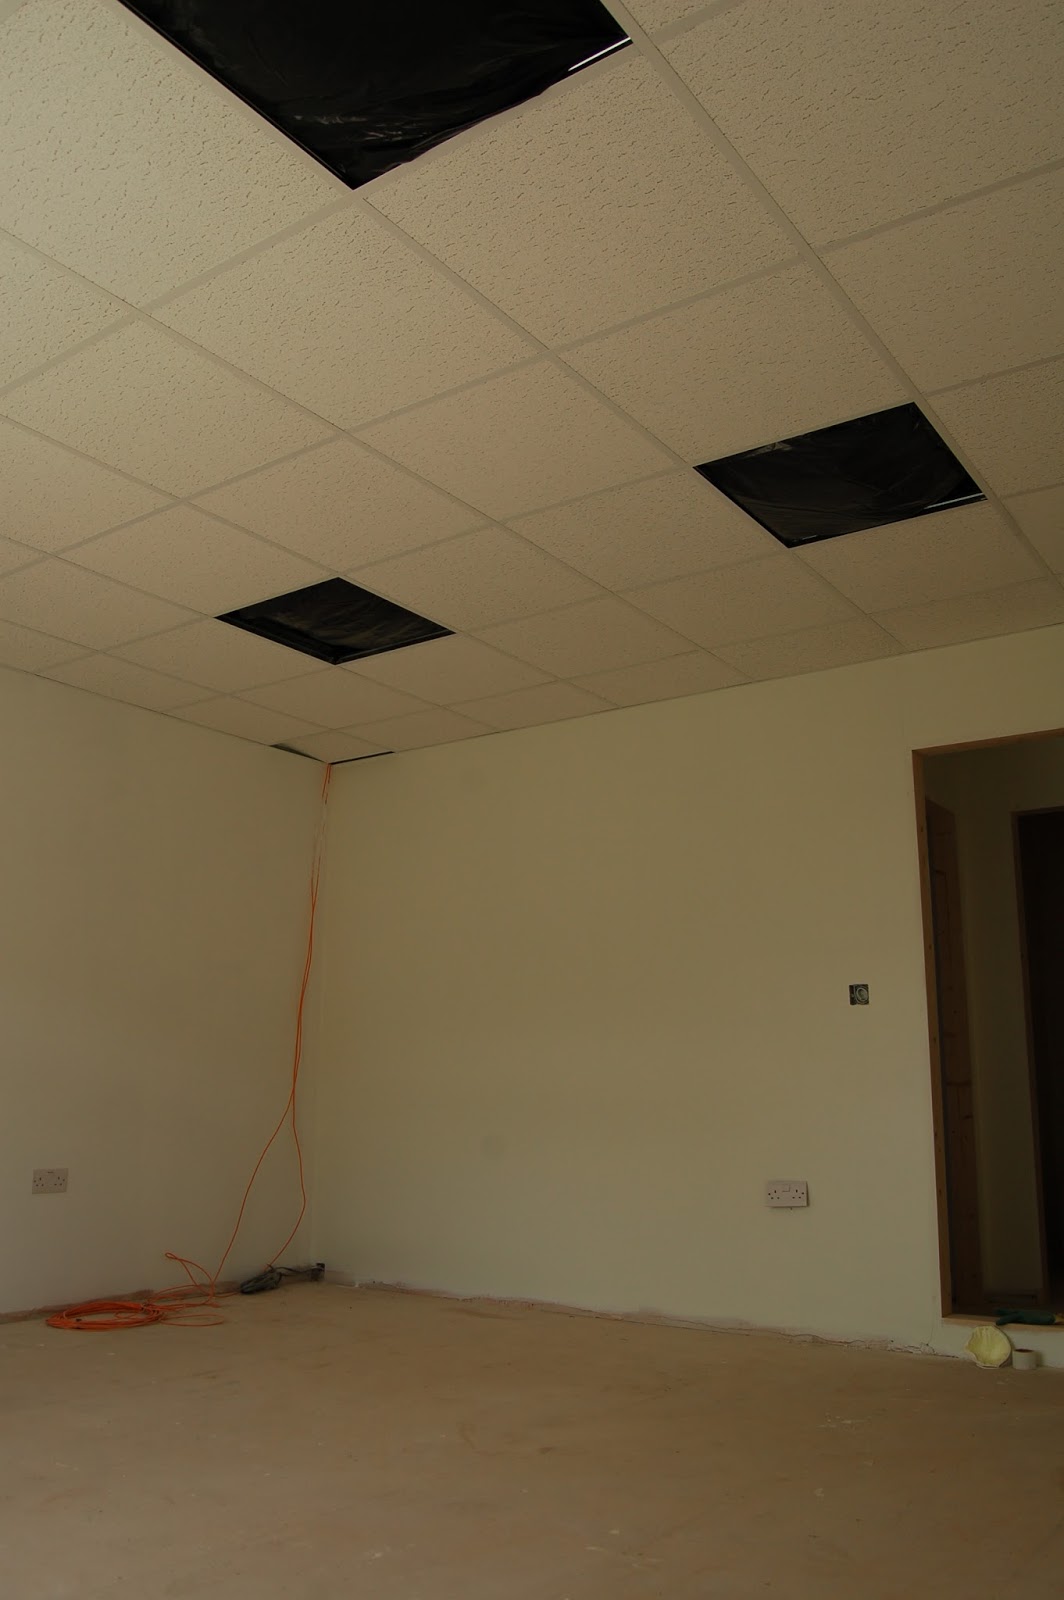
Suspended ceiling installed with blank tiles removed ready for the lighting panels.


Another view of the suspended ceiling panels in the first floor executive office.

Wednesday, 3 July 2013

Air Source Heat Pump and First Fix Wiring


Air Source Heat Pump and First Fix Wiring.


This is a view of the Air Source Heat Pump enclosure, it shows the rear of the refrigeration unit with fan to take in the air. The water tank that heats the coiled pipe. The coiled pipe is heated in the large tank, the clycol filled plastic piping then carries the heat into the underfloor piping throughout the ground floor. South West Energy supplied the Danfoss heat pump and underfloor heating, they are based in Plymouth and Bristol.


Another view of the exterior of the Danfoss Heat pump.


This view shows the Danfoss control unit and the manifold
which distributes the heat to the various zones.


An example of the first fix wiring, consisting of  electrics, emergency lighting , burglar alarm, fire alarm and It networking.


Another view showing the first fix cables.


Thursday, 6 June 2013

Underfloor Heating and Screed

Underfloor Heating and Screed


This is a view of a section of Celotex insulation sheets, they are aprox  100mm thick , on top of this a layer of black plastic sheeting is applied before the underfloor heating pipes are applied.


This section shows the underfloor heating pipe applied to the surface, the pipes are secured by plastic staples. You can see that there is approximately  200mm of space between each pipe. 

This view shows all the zonal pipes coming back to the manifold.


This image shows the manifold , all the zonal pipes meet at this junction, the manifold is then connected the the air source heat pump and the expansion vessels.


Another view showing the under floor pipe layout.


This shot shows the metal leveling instruments positioned with the aid of an infra red surveyors level. The screed will be poured until it meets the underside of the adjustable screw of each tripod. this will enable the screed to be poured and an even level will be achieved throughout the ground floor area.


This shot shows the ducting for the IT and electrics for the main open plan office.


The Screed arrives. Lorries arrive within 10 mins of each other from a depot outside Dorchester.


The Screed is poured in to a trough which has a pump attached on the underside, any over sized particles can be removed by using a mesh above the trough.


The Screed is poured, more is required in this zone  !


The main ground floor office being filled.


Screed is directed through a large hose pipe so all areas are covered and a large leveler is used to make sure
the screed is evenly spread.


This shot shows the screed set the next day. A white colour as this jagged edged sand comes from a sand quarry in Dorset, as opposed to a pink colour that you will find with screed processed from Devon quarries, notably Rockbeare.


A shot showing the floor in the gallery. The Screed will be sanded in 2 weeks time to remove any uneven areas and to provide a finish for the final floor application, in this case engineered wood flooring 14 mm .


A view of the ground floor  open plan office.

Tuesday, 14 May 2013

Internal Studwork installation.

Internal Stud work installation.


Wall of the Gents and Ladies, looking form the gallery foyer.


View of the partially installed spiral staircase which will take you up the the mezzanine and my new office.


A View Showing the stud wall dividing the office from the gallery.


Another view showing the stud work between the gallery and offices and another shot of the partially installed spiral staicase.


Looking into the depth of the atrium from what will be the mezzanine floor.


Looking down the spiral staircase from the Mezzanine floor.


Floors and Wind braces.

Floors and Wind braces.


This shot shows all the first floor joists in place.


This shot was taken from the exterior scaffolding.

The floor panels went in over 4 days, giving you an idea of the height and space created on the first floor.


The western gable end is not supported with a floor, therefore we have had to install wind bracing which firms up the wall. this photo shows one of 6 wind braces which we need to install. they are anchored into place using the ground floor block and beam construction.


This shot shows the anchor brace.


A View showing the Wind brace terminating at the eaves level.

Installation of exterior wall panels.


Installation of exterior wall panels.


The exterior wall panels came in approximately 44 sections, they were manufactured in south wales and delivered to us by articulated lorry.We had to unload the articulated lorry from a near by lay by using a tractor and trailer kindly lent to us by Wilfred Tratt our neighbour. The panels went up very quickly, they were all up within a week. Small adjustments had to be made.


This view is looking West to the gallery at the end.


The wooden panels are lined with a vapour blanket which deals with any condensation
that might arise.


This view is taken from the South West showing all the panels in situ and highlighting the layout of the windows.


The cladding is attached to battens. The cladding is pressure treated Douglas Fir, the panels are approximately 12 inches wide. This is a view looking towards the air source heat pump shed.


Another view taken from the South west but showing the basement to the far left of the building.